
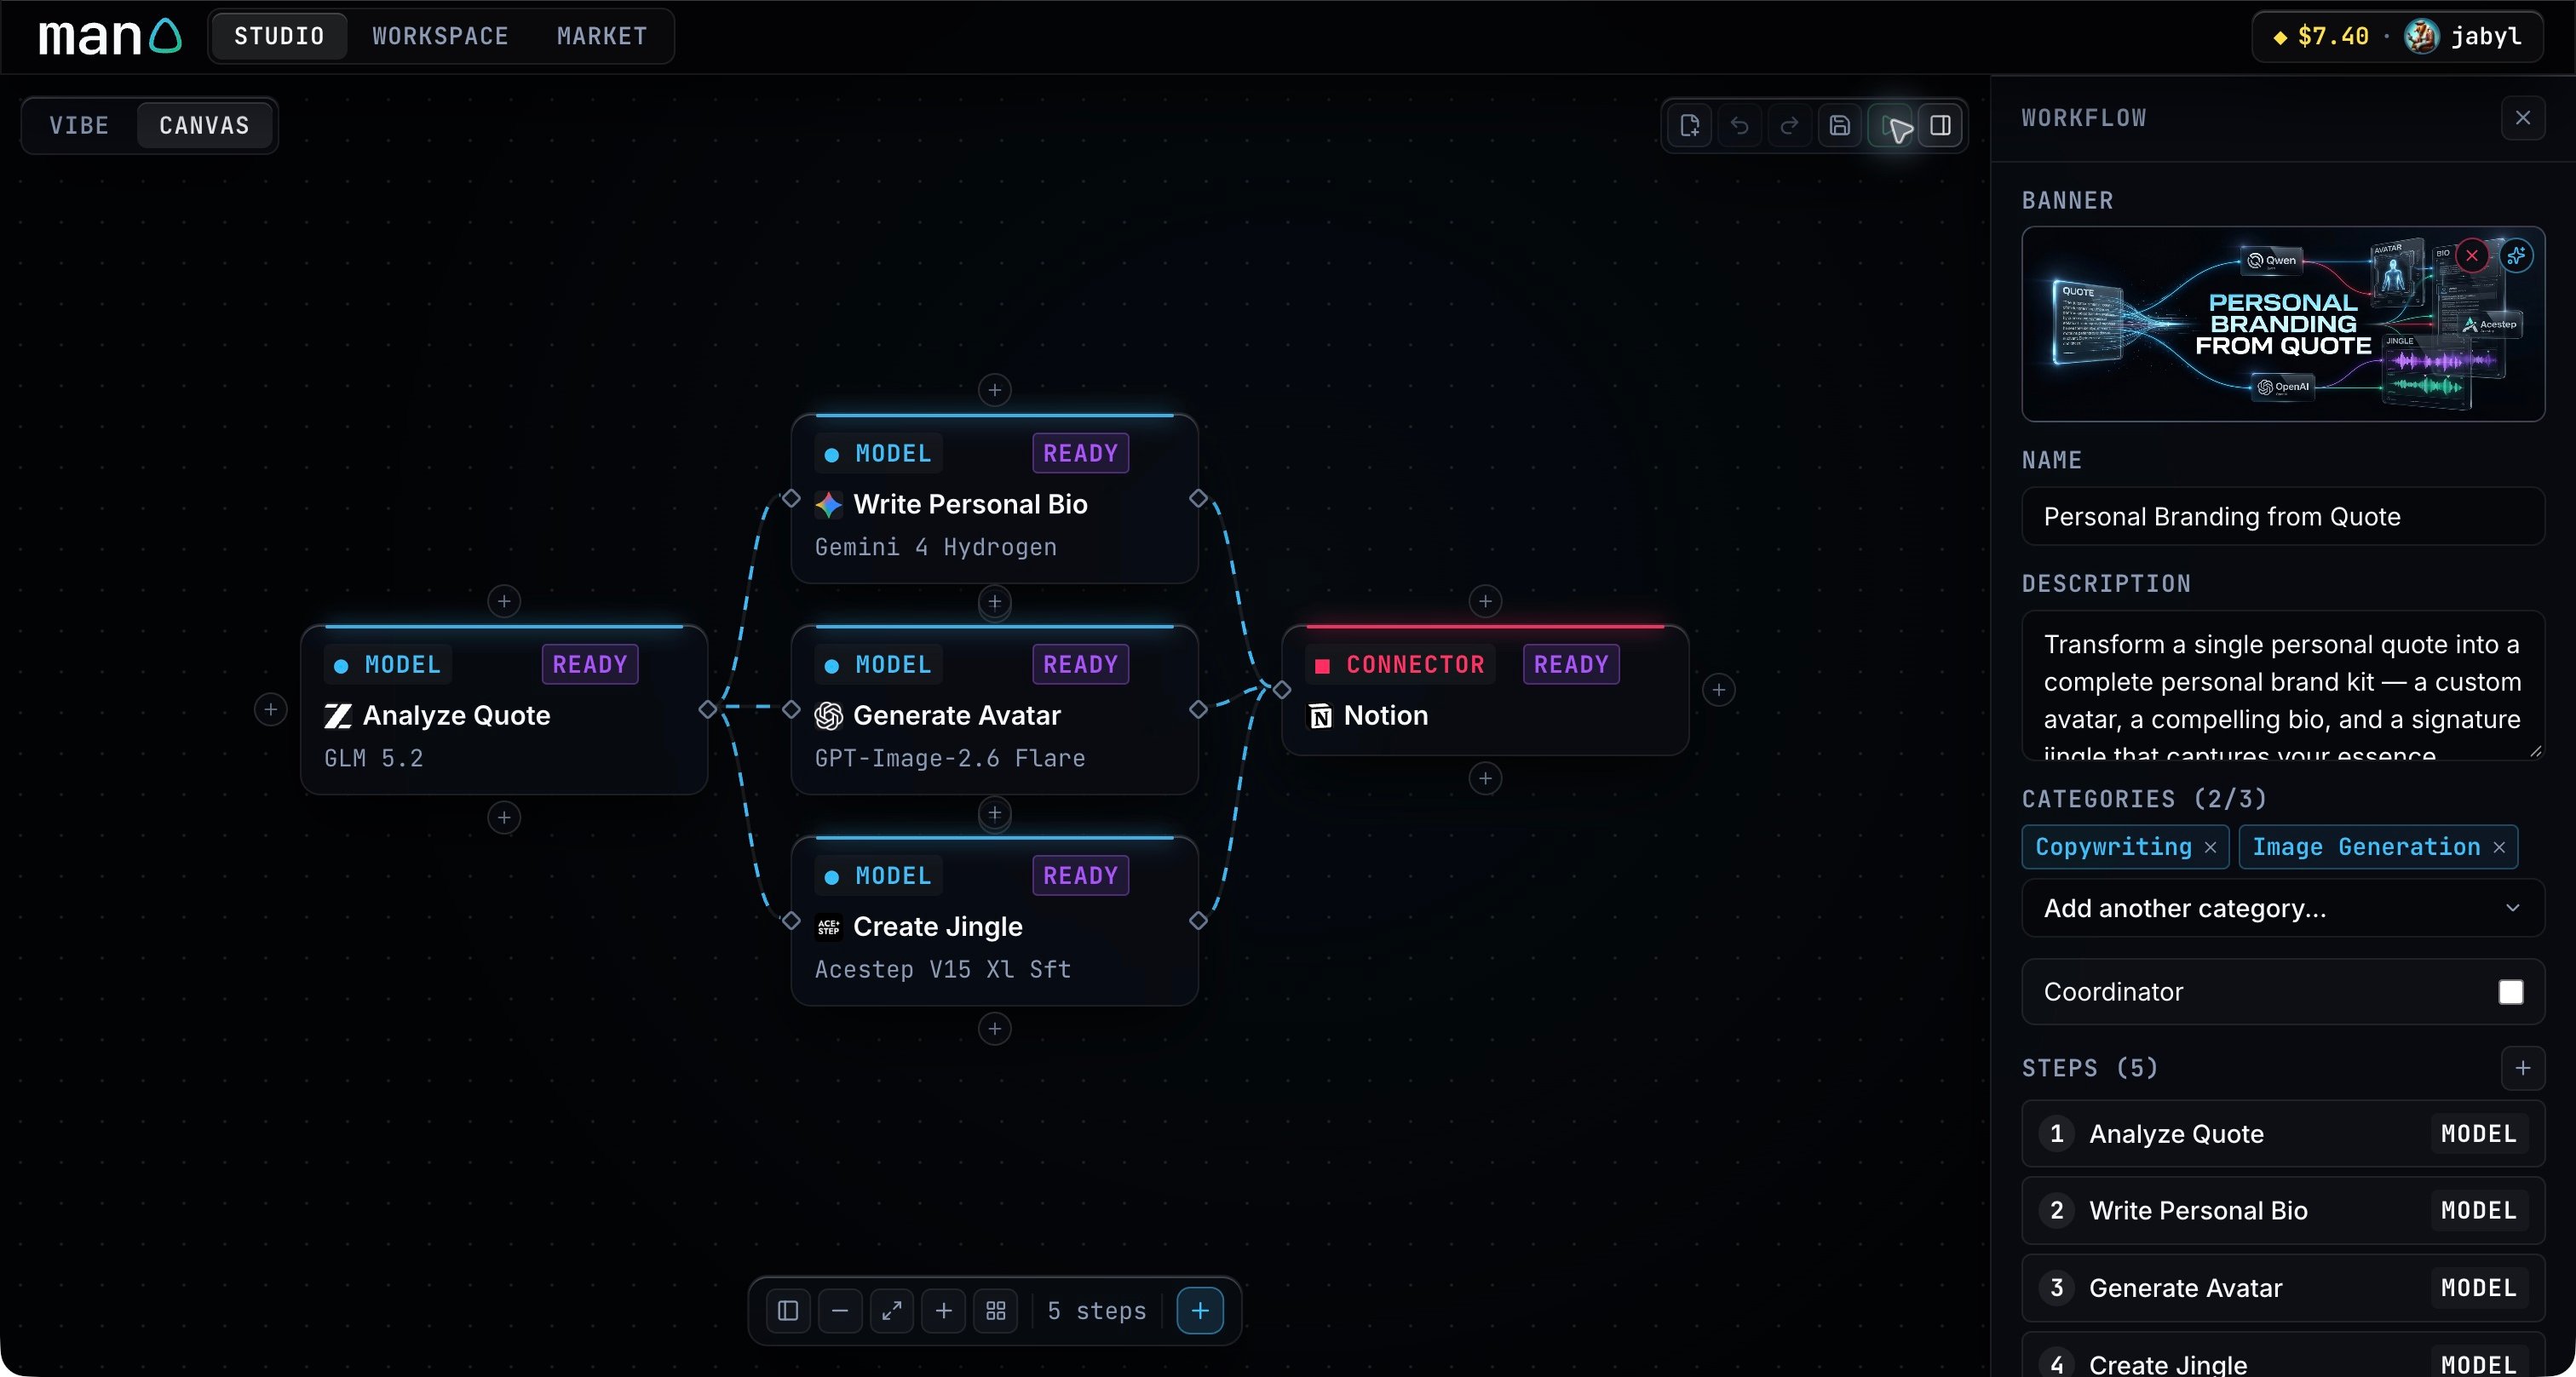
Add and connect steps
Open Catalog with the plus button, or press ⌘/Ctrl + N. Choose a model, connector or agent. Use a step’s directional plus controls to insert another step beside it; you can also wire steps together by dragging between their connection handles. Drag a step to move it. A branch can send the same analysis to several steps, while a later step can combine their outputs.Edit a step
Click a step to open its inspector. Change Step label, select its catalog entry, and write the task in Instructions / Note. Say what it should produce and how it should use the earlier output.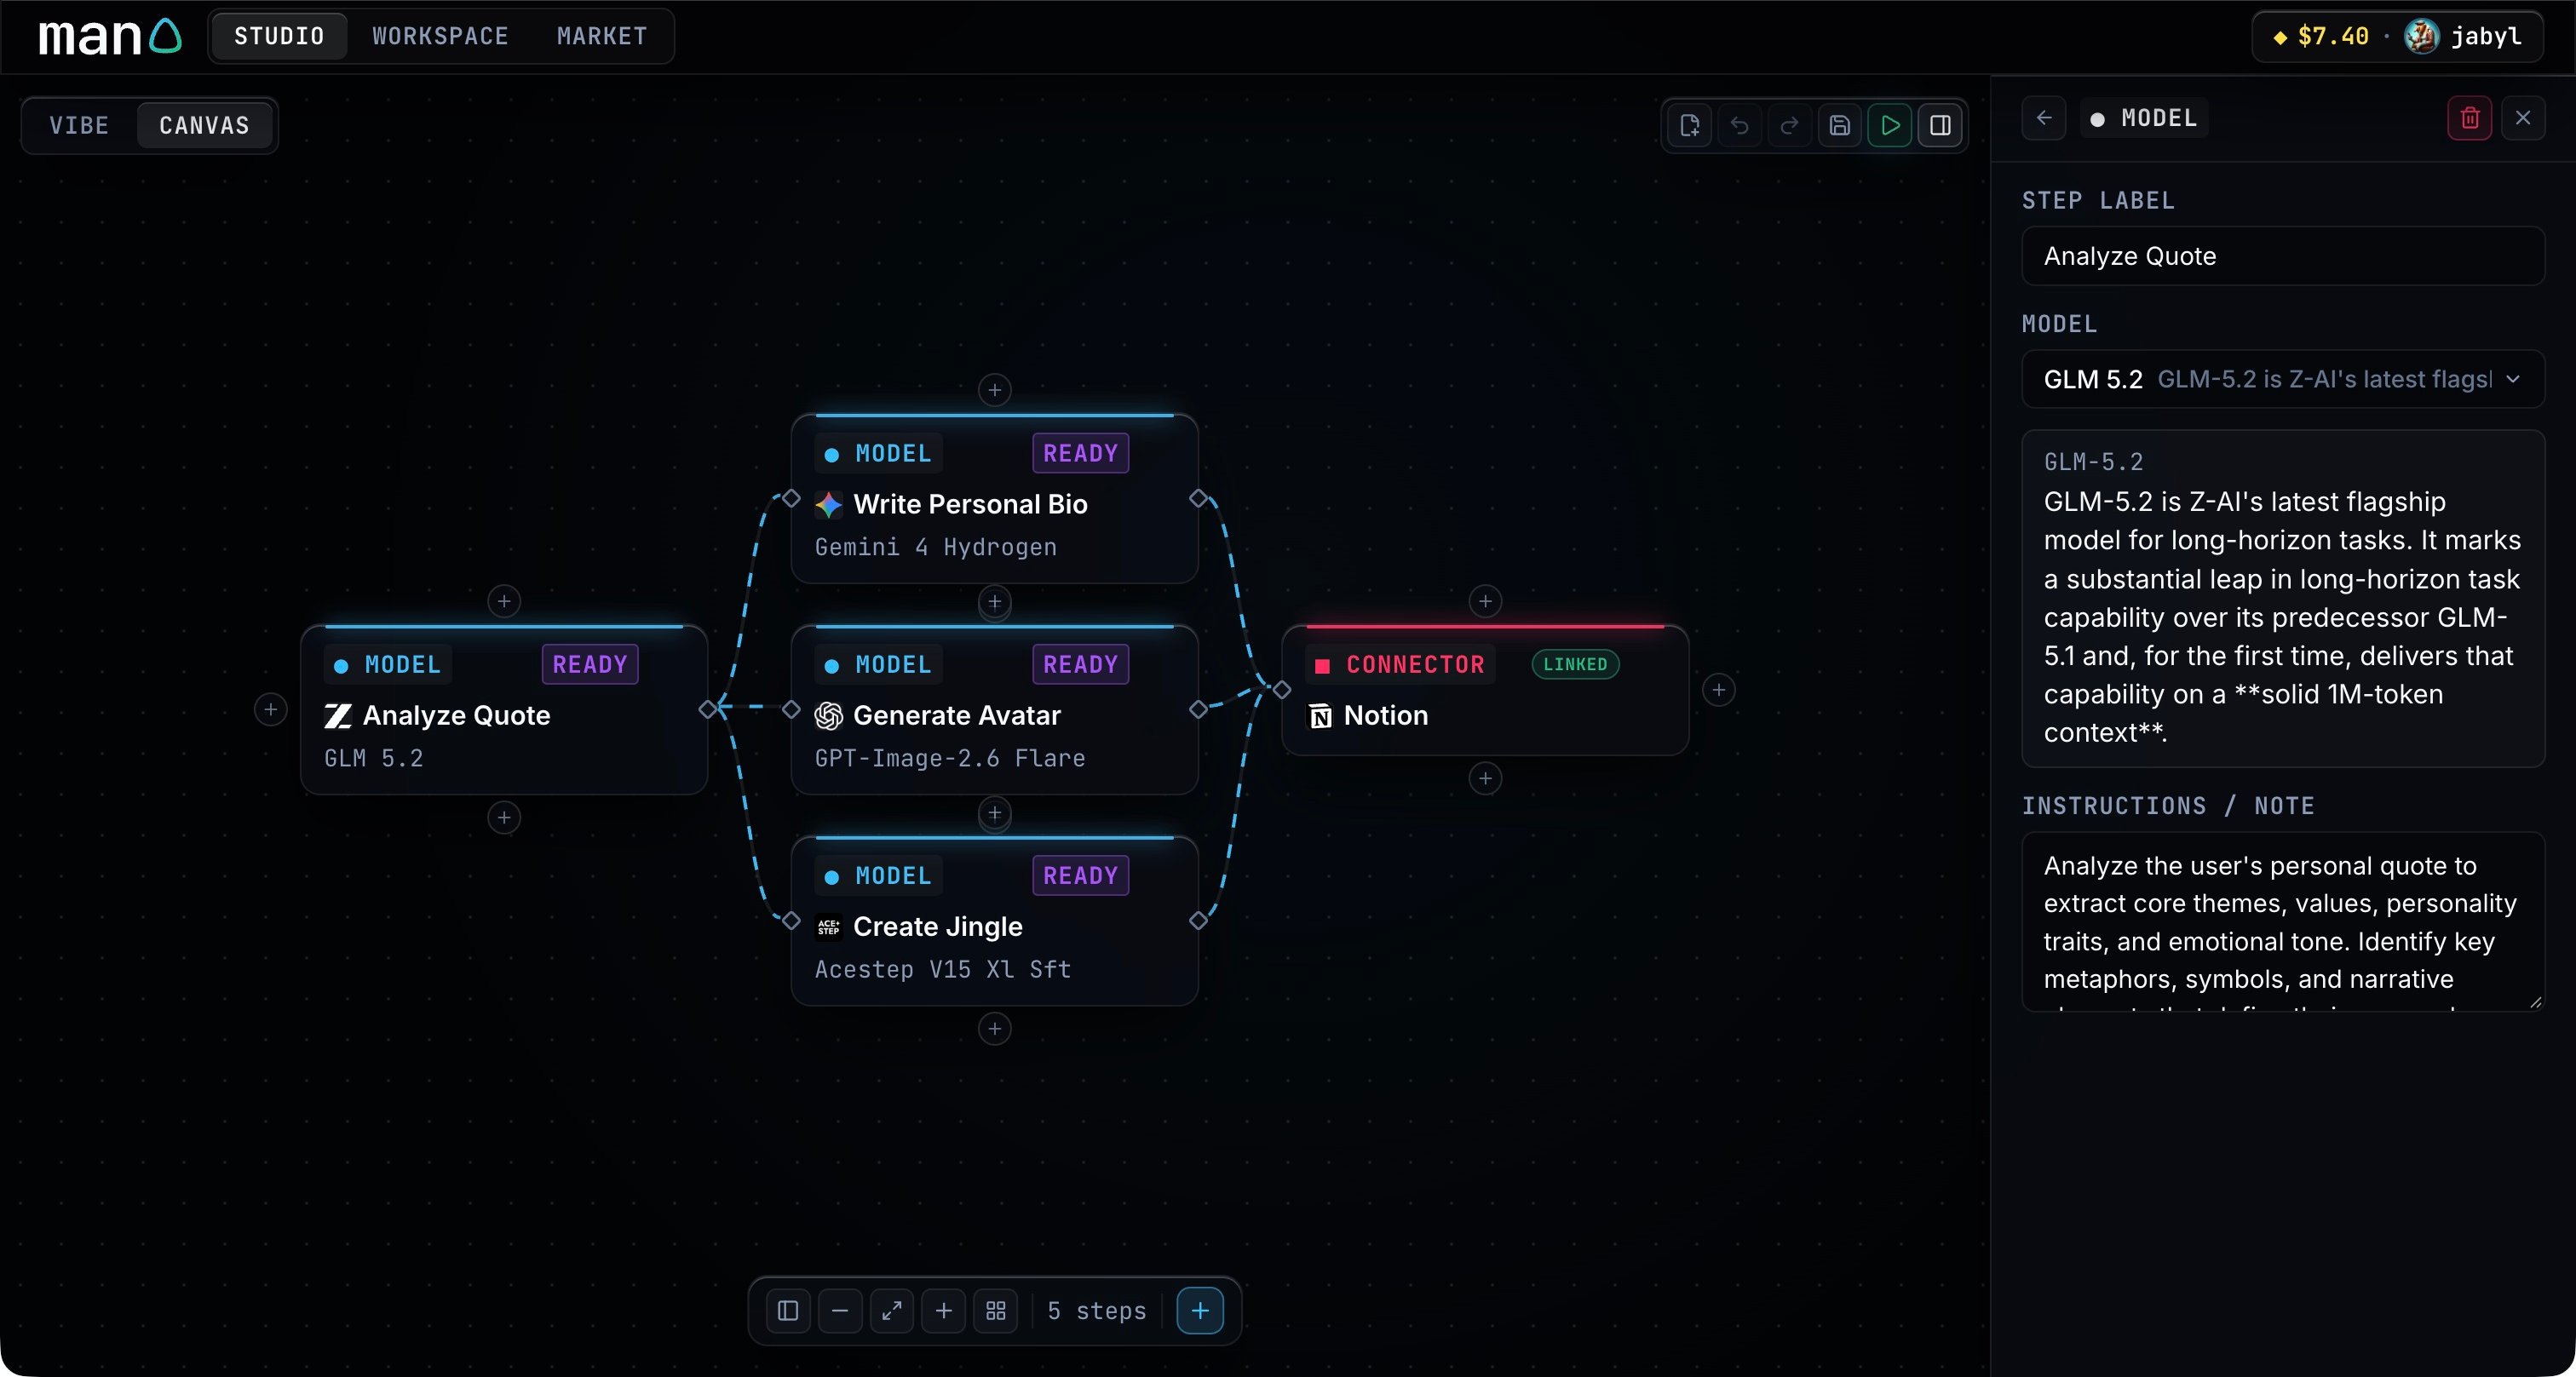
Save the workflow
Open the workflow overview to edit its name, description, banner, categories and coordinator. Click Save, or press ⌘/Ctrl + S, to put the draft in Workspace. Studio then starts a fresh Canvas.
Try the graph with Test run before publishing it.